The Power of Separation: Demystifying Off-Camera Flash for Dynamic Portraits

What Makes Off-Camera Flash Different—and Better—Than On-Camera?
Here’s a compelling, if sometimes overlooked, aspect of light: If you double the distance between your light source and your subject, the light intensity doesn’t just halve—it drops to one-quarter of its original strength. This principle, known as the inverse square law, dramatically illustrates why controlling your light’s position is so vital in photography. Off-camera flash (OCF) isn’t just about adding more light; it’s about precisely shaping and directing it to create impactful, professional-looking portraits that simply aren't possible with a camera-mounted flash or natural light alone. This guide will walk you through the fundamentals of OCF, from necessary gear to practical setup techniques, helping you unlock a new level of creative control in your portraiture.
Many photographers start their journey relying on ambient light or the small, often harsh, pop-up flash on their camera. While convenient, on-camera flash creates flat, uninteresting light, often resulting in unflattering shadows and subjects that look pasted against a dark background. This happens because the light source is directly in line with your lens, illuminating everything head-on. OCF liberates your light source from your camera, allowing you to position it anywhere you choose. This separation is a game-changer. It means you can introduce modeling to your subject’s features, create dramatic shadows, highlight textures, and control the background's illumination independently of your subject's.
Think of it this way: when your light source is attached to your camera, you’re always shooting with a spotlight pointed straight at your subject’s face. Moving the light away, even just a few feet, allows you to sculpt with light, mimicking the way natural light falls or creating entirely new, stylized effects. This isn’t just about avoiding red-eye; it’s about crafting mood, depth, and dimension in your photographs. Understanding how to use OCF means you’re no longer merely recording available light; you’re an active participant in its creation, bending it to your will to tell a more compelling visual story. It’s an invaluable skill for anyone serious about elevating their portrait work.
What Gear Do You Really Need for an Off-Camera Flash Setup?
Getting started with off-camera flash doesn't require an arsenal of expensive equipment, but there are a few core components you’ll need to make it work effectively. At its heart, an OCF setup involves a flash unit, a way to trigger it remotely, and something to hold it and shape its light. Let’s break down the essentials:
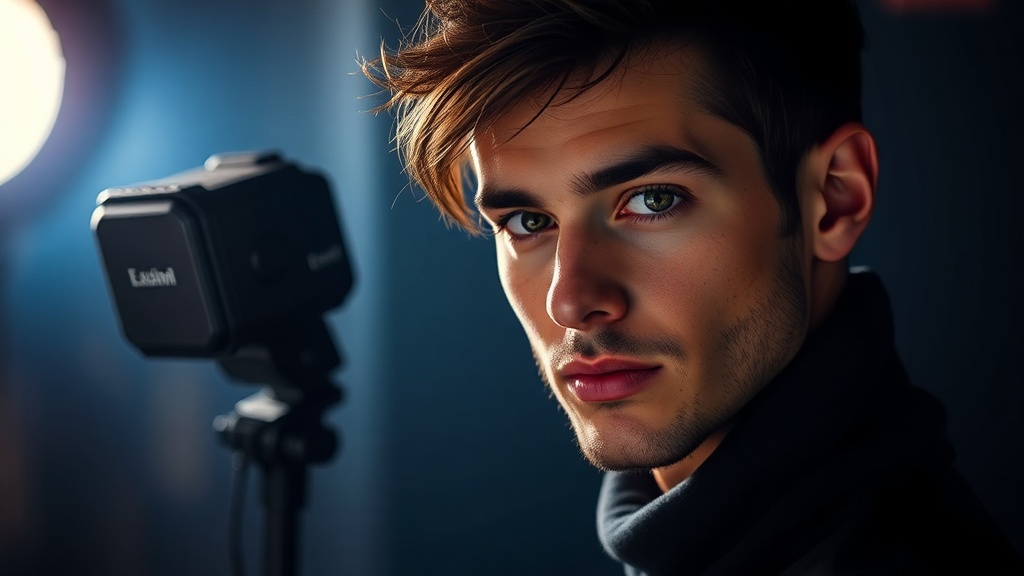
- The Flash Unit (Speedlight or Strobe): A speedlight is a compact, battery-powered flash unit that mounts to your camera’s hot shoe but can also be used off-camera. They are portable, relatively affordable, and versatile. Studio strobes, on the other hand, are typically more powerful, recycle faster, and often require AC power (though battery-powered options exist). For most photographers starting out with OCF portraits, a good quality speedlight is an excellent entry point. Look for one with manual power control, and ideally, High-Speed Sync (HSS) and TTL (Through-The-Lens) capabilities for added flexibility.
- Wireless Trigger System: To fire your off-camera flash, you’ll need a wireless trigger and receiver. Many modern speedlights have built-in radio receivers, requiring only a transmitter unit on your camera’s hot shoe. If your flash doesn't have a built-in receiver, you’ll need a dedicated receiver unit for each flash. Radio triggers are generally preferred over optical triggers because they don’t require line of sight and are more reliable outdoors or in brightly lit environments. Brands like Godox, Profoto, and Elinchrom offer robust and dependable systems across various price points. Consistency is key here—you want your flash to fire every single time.
- Light Stand: A sturdy light stand is non-negotiable. It holds your flash unit and any attached light modifiers securely. Don't skimp on this; a cheap, flimsy stand can easily tip over, potentially damaging your flash unit. C-stands are incredibly stable but heavier, while aluminum stands are lighter and more portable. Choose one appropriate for the weight of your flash and modifier, with a decent operating height.
- Umbrella or Softbox (Light Modifier): This is where the magic happens—light modifiers transform the harsh, direct light from your bare flash into something softer, more pleasing, and controllable. A basic shoot-through umbrella is the simplest and most affordable option, diffusing the light beautifully. Softboxes, which come in various shapes and sizes (square, rectangular, octagonal, strip), offer more directional control and a softer, more even light quality. Parabolic modifiers can create unique, dramatic lighting. Experimenting with different modifiers is a creative journey in itself, allowing you to discover distinct lighting signatures for your portraits.
- Swivel Adapter (Umbrella Bracket): This small but crucial accessory mounts your speedlight to your light stand and provides an attachment point for an umbrella. It allows you to angle your flash and modifier, directing the light exactly where you need it.
While this might seem like a lot, you can gradually build your kit. Many photographers start with a single speedlight, a trigger, a light stand, and an umbrella, and then expand as their needs and creative ambitions grow. The key is to understand what each piece does and how it contributes to your ability to shape light effectively.
How Do You Position and Control Off-Camera Flash for Creative Results?
Once you have your basic gear, the real artistry begins: positioning and controlling your off-camera flash. This isn’t a one-size-fits-all endeavor; every portrait, every subject, and every environment might call for a different approach. However, some fundamental principles will guide you toward compelling results.
Single Light Setup: The Foundation
Start simple. A single off-camera flash can achieve a remarkable range of looks. A common and highly effective starting point is the ‘Rembrandt lighting’ setup, named after the Dutch painter known for his dramatic use of light and shadow. To achieve this, place your OCF about 45 degrees to one side of your subject and slightly above their eye level, angled down towards them. This creates a small triangle of light on the shadowed side of the face, adding depth and dimension. This basic setup immediately elevates a portrait from flat to sculptural. Pay attention to how the light falls—observe the shadows, the highlights, and how they define your subject’s features.
For a softer, more even light, try moving your flash further from your subject and using a larger softbox or umbrella. The larger the apparent size of the light source relative to your subject, the softer the light will be. Conversely, a smaller, closer light source will produce harder, more dramatic shadows.
Balancing Flash with Ambient Light
One of the most powerful aspects of OCF is its ability to balance with—or completely overpower—ambient light. When shooting outdoors or in mixed lighting conditions, you often want to ensure your subject is well-lit without making them look artificially superimposed onto the background. Here’s a basic approach:
- Meter for the Ambient: First, set your camera’s exposure (ISO, aperture, shutter speed) to properly expose the background and ambient light, ignoring your subject for a moment. This might mean a faster shutter speed or a smaller aperture if it’s bright outside.
- Add Flash: Then, introduce your OCF, adjusting its power until your subject is perfectly exposed. This method allows you to control the brightness of the background relative to your subject, creating anything from a bright, airy look to a dramatically dark, moody feel even in broad daylight. You might need to use High-Speed Sync (HSS) if your shutter speed exceeds your camera’s normal flash sync speed (typically 1/200th or 1/250th of a second) to properly expose the ambient light.
Conversely, if you want a dark, dramatic background while your subject is perfectly lit, you would expose for the subject with the flash and allow the ambient light to fall away into darkness by using a fast shutter speed, small aperture, or low ISO. For more information on balancing flash, the principles outlined by