Directing Natural Light with Reflectors and Diffusers

Most photographers believe that if the sun is too bright, the shoot is ruined. That's a mistake. This post breaks down how to manipulate natural light using reflectors and diffusers to control shadows, highlight details, and create professional-grade portraits without ever touching a flash.
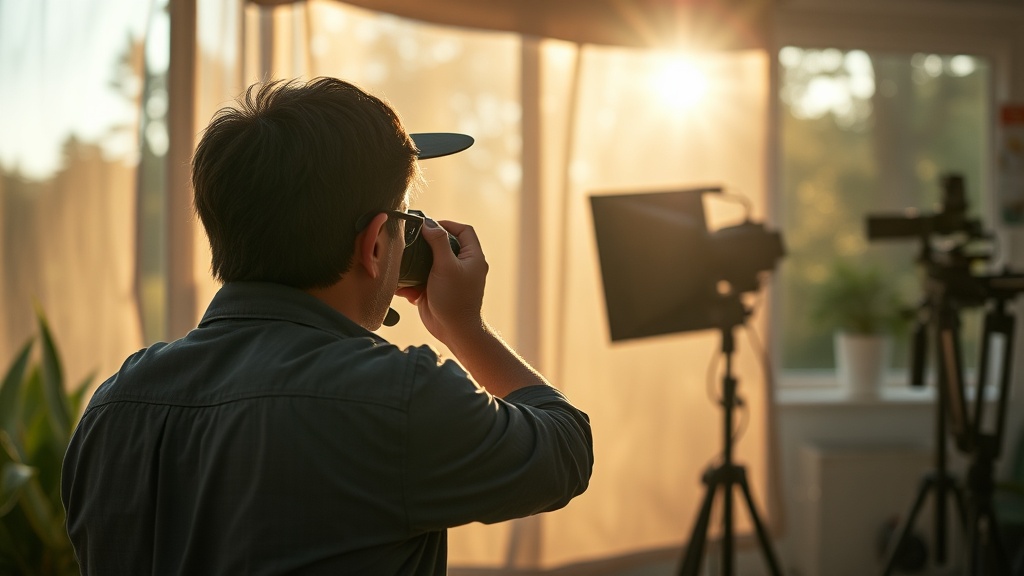
Natural light is unpredictable. One minute you have a soft glow, and the next, the sun hits a hard angle that creates deep, unflattering shadows under a subject's eyes. You don't need a massive studio setup to fix this. You just need to understand how to redirect or soften the light hitting your sensor.
What is the difference between a reflector and a diffuser?
A reflector adds light to a scene, while a diffuser reduces the intensity of light. Think of a reflector as a way to bounce light back into the shadows and a diffuser as a way to soften the light's impact. It's a matter of adding versus subtracting.
When you use a reflector, you're taking existing light—from the sun or a nearby window—and bouncing it toward your subject. This fills in the dark areas of a face or a landscape. If you're shooting a portrait and the side of the face facing away from the sun is too dark, a reflector is your best friend.
A diffuser does the opposite. It sits between your light source and your subject to break up the light rays. This turns a harsh, direct light source into a soft, even glow. If you're working near a window with intense midday sun, a diffuser can make that light manageable.
Here is a quick breakdown of how these tools function in a real-world setting:
| Tool Type | Primary Function | Best Used For... | Effect on Shadows |
|---|---|---|---|
| Reflector | Adds/Redirects Light | Filling in dark shadows on the face | Makes shadows lighter and less intense |
| Diffuser | Softens/Spreads Light | Reducing harsh highlights and glare | Makes shadows softer and more gradual |
How do I use a reflector for portrait photography?
You use a reflector by placing it on the side of your subject that is currently in shadow. The goal is to "bounce" light from the bright side back into the dark side to create balance.
The color of the material you use changes the look of the photo entirely. A silver reflector is highly reflective and works great for high-contrast situations, but it can look a bit "clinical" if you aren't careful. A gold reflector adds warmth, which is great for skin tones, but it can make things look overly orange if the light is already warm. A white reflector is the most subtle and natural-looking option—it's the "safe" choice for most portraits.
I often use the Profoto philosophy of light control even when I'm not using their gear. Even a simple piece of white foam board from a craft store can act as a reflector. It's about how much light you can redirect. If you want to learn more about finding the right light before you even reach for your gear, check out my guide on finding the right light for portrait photography.
One tip: don't hold the reflector too close to the subject's face if you're using a gold or silver one. You might end up with weird, unnatural reflections in their eyes. Keep it at a distance where the light feels natural, not forced.
When should I use a diffuser instead of a reflector?
Use a diffuser when the light source is too "hard"—meaning it creates sharp, dark shadows and bright, blown-out highlights. If you're shooting outdoors in direct sunlight and your subject is squinting, you need a diffuser.
A diffuser acts like a cloud. It scatters the light, making it wrap around the subject more smoothly. This is perfect for achieving that high-end, soft-skin look. You can use a professional silk scrim or even a simple white bedsheet draped over a frame. It doesn't have to be expensive gear; it just has to be a translucent material that breaks up the light rays.
The catch? Diffusers can sometimes reduce the overall brightness of your scene. If you're shooting in a low-light environment, a diffuser might make your image too dark, forcing you to increase your ISO or open your aperture. You'll need to balance this carefully.
Common scenarios for using a diffuser:
- Direct Midday Sun: To prevent harsh shadows under the nose and eyes.
- Window Light: To soften the transition between the bright window and the rest of the room.
- Outdoor Portraits: To create a more "dreamy" or ethereal atmosphere.
If you're interested in how light affects the mood of a shot, you might want to look into the golden hour, which provides a naturally softer light that often requires less heavy-duty diffusion.
Which reflector color is best for skin tones?
White is generally the best for natural skin tones because it provides a neutral fill that doesn't distort the color temperature of the scene. However, gold is a popular choice for adding a "glow" to sun-drenched shots.
If you're shooting a person with very fair skin, a gold reflector might be too aggressive. You'll end up with a yellowish tint that's a pain to fix in post-processing. Silver, on the other hand, is great for a kick of brightness, but it can look a bit artificial if the light is already very bright. It's a fine line to walk.
Here's a quick guide to choosing your tool based on the situation:
- High Contrast/Direct Sun: Use a white diffuser to soften the light first, then a white reflector to fill the shadows.
- Overcast/Flat Light: Use a silver reflector to add some "pop" and brightness to the subject.
- Sunset/Golden Hour: Use a gold reflector to enhance the warmth and keep the skin looking vibrant.
- Indoor/Window Light: Use a white reflector to bounce light back into the shadow side of the face.
I've found that most beginners overthink this. You don't need a $500 kit. Start with a simple 5-in-1 reflector set. They are inexpensive and give you the option to switch between silver, gold, white, and even a black side (which acts as a "negative fill" to actually create more shadows). It's a versatile tool that every photographer should have in their bag.
Remember, the goal isn't to fight the light. It's to work with what you've got. Whether you're using a professional scrim or a piece of white cardboard, the principle remains the same: direct the light where it's needed most.