Using Long Exposure to Capture Motion Blur in Water

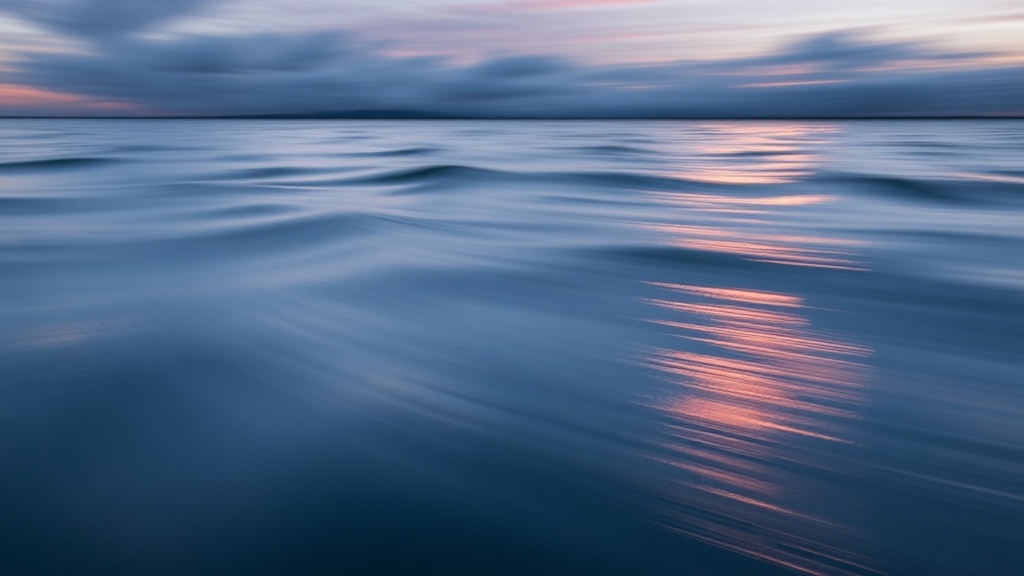
A single shutter click lasting thirty seconds can turn a chaotic, crashing wave into a silk-like veil of white mist. This technique, known as long exposure photography, allows you to capture the passage of time within a single still frame. You'll use it to create motion blur in water, turning turbulent rivers or crashing oceans into smooth, ethereal textures. This guide breaks down the gear, the settings, and the technical execution required to master this specific look.
Most beginners think they need a high-end studio to get professional results, but the reality is much simpler. You just need a way to keep your camera perfectly still while the shutter stays open. If the camera moves even a fraction of a millimeter, your entire shot is ruined. You aren't just fighting the water; you're fighting the Earth's rotation and your own shaky hands.
What Gear Do I Need for Long Exposure?
You need a sturdy tripod, a remote shutter release, and a Neutral Density (ND) filter to successfully capture motion blur in water.
The tripod is your most important investment. A cheap, lightweight plastic tripod won't cut it when the wind picks up on a coastline. I've seen too many photographers lose a perfectly timed shot because a gust of wind tipped over a flimsy setup. Look for something with a center column that's easy to secure. Brands like Manfrotto make heavy-duty options that won't budge.
Then there's the ND filter. Think of an ND filter as sunglasses for your lens. It reduces the amount of light hitting your sensor, which allows you to use much longer shutter speeds without overexposing the image. Without one, a 10-second exposure in daylight would just be a solid white rectangle of light.
- ND8 (3-stop): Good for overcast days or late afternoon.
- ND64 (6-stop): The "sweet spot" for most water photography.
- ND1000 (10-stop): Necessary for bright daylight to achieve very long exposures.
Don't forget a remote shutter release. Even pressing the button on your camera body causes enough vibration to blur the stationary elements of your shot—like rocks or cliffs—which ruins the contrast against the blurred water. If you don't have a dedicated remote, use the built-in 2-second timer on your DSLR or mirrorless camera.
How Long Should My Shutter Speed Be?
Shutter speed depends on the type of water movement you want to achieve and the amount of light available.
If you want to show the texture of ripples or small waves, a shorter exposure of 1/2 second to 2 seconds works well. This retains some sense of direction in the water. If you want that "milky" or "foggy" look where the water looks like a solid, smooth surface, you need to go longer—anywhere from 5 to 30 seconds.
The math can get tricky. If you're shooting in bright sunlight, your camera's shutter speed wants to be very fast (like 1/1000th of a second). To force it to stay open for 10 seconds, you have to block that light. This is why understanding the exposure triangle is vital. You're balancing aperture, ISO, and shutter speed to find that perfect balance.
Here is a quick reference for common scenarios:
| Water Type | Desired Effect | Recommended Shutter Speed |
|---|---|---|
| Small Stream/Brook | Soft Flow | 1/2 to 2 Seconds |
| Crashing Ocean Waves | Mist/Fog Effect | 5 to 15 Seconds |
| Waterfall | Silky Texture | 10 to 30 Seconds |
| Calm Lake | Glassy Surface | 30+ Seconds |
One thing to watch out for: if you're shooting a waterfall, don't go *too* long. If the exposure is too long, the water can look like a blurry mess rather than a purposeful texture. You're looking for a balance between motion and detail.
How Do I Set Up My Camera Settings?
Set your camera to Manual Mode (M), use the lowest native ISO possible, and use a narrow aperture to maintain depth of field.
First, set your ISO to 100 or the lowest your camera allows. A low ISO ensures the cleanest image with the least amount of digital noise. Next, address your aperture. For water photography, you often want a deep depth of field so both the foreground rocks and the background water stay sharp. An aperture of f/8 to f/11 is usually the "sweet spot" for most lenses. Avoid going to f/22, as this can cause diffraction—a phenomenon where light scatters and actually makes your image less sharp.
After setting ISO and Aperture, check your light meter. If you're using an ND filter, your camera's light meter will likely be wrong because it can't "see" through the filter. I usually take a test shot without the filter first, see what the settings would be, and then calculate the addition of the filter. If you're using a 10-stop filter, a 1/100th shutter speed becomes a 10-second shutter speed.
It's worth noting that if you're shooting in very low light, you might need to watch your histogram closely. You don't want your shadows to "crush" into pure black. If the water is too dark, you'll lose all the detail in the highlights. If it's too bright, the white foam will look "blown out" and lose all texture.
If you find yourself struggling with sharpness while shooting in these conditions, check out my guide on capturing sharper photos in low light. Even though you're using a tripod, the principles of light management remain the same.
"The secret to great long exposure isn't just the shutter speed; it's the patience to wait for the right light and the right wave."
When you're out in the field, don't just click and move on. Set up your shot, look at the histogram, and take multiple shots with slightly different durations. A 5-second shot might look "choppy," while a 15-second shot might look too "soupy." You're looking for that perfect middle ground where the water looks ethereal but still has a sense of movement.
One technical detail people often miss: check your battery life. Long exposures are incredibly taxing on your camera's battery. The longer the shutter is open, the more power the camera uses to keep the sensor active. If you're out in the cold, your battery will drain even faster. Always carry a spare.
Also, keep an eye on your lens. If you're shooting near crashing waves, salt spray is your enemy. A single drop of saltwater on your glass will create a massive blur that no amount of post-processing can fix. I always carry a microfiber cloth and a way to protect my lens from the elements.
The process of getting the shot right involves a lot of trial and error. You might spend an hour waiting for a specific wave pattern or a certain light angle. Don't get frustrated if your first five shots look bad. It's a technical skill, and like any skill, it requires repetition.
When you're reviewing your shots on the back of the LCD, look closely at the edges of the water. If the rocks or stationary objects look blurry, your tripod wasn't stable enough or you didn't use a timer. If the water looks too "busy," you need a longer shutter speed or a stronger ND filter.
If you want to improve your composition while you're out there, remember to look for elements that anchor the shot. A large, sharp rock in the foreground can provide a sense of scale and contrast against the moving water. This is where leading lines can really help pull the viewer through the frame toward the moving water.
Steps
- 1
Set up a sturdy tripod
- 2
Choose a small aperture (high f-number)
- 3
Use a remote shutter or timer to prevent camera shake
- 4
Adjust shutter speed based on desired motion blur